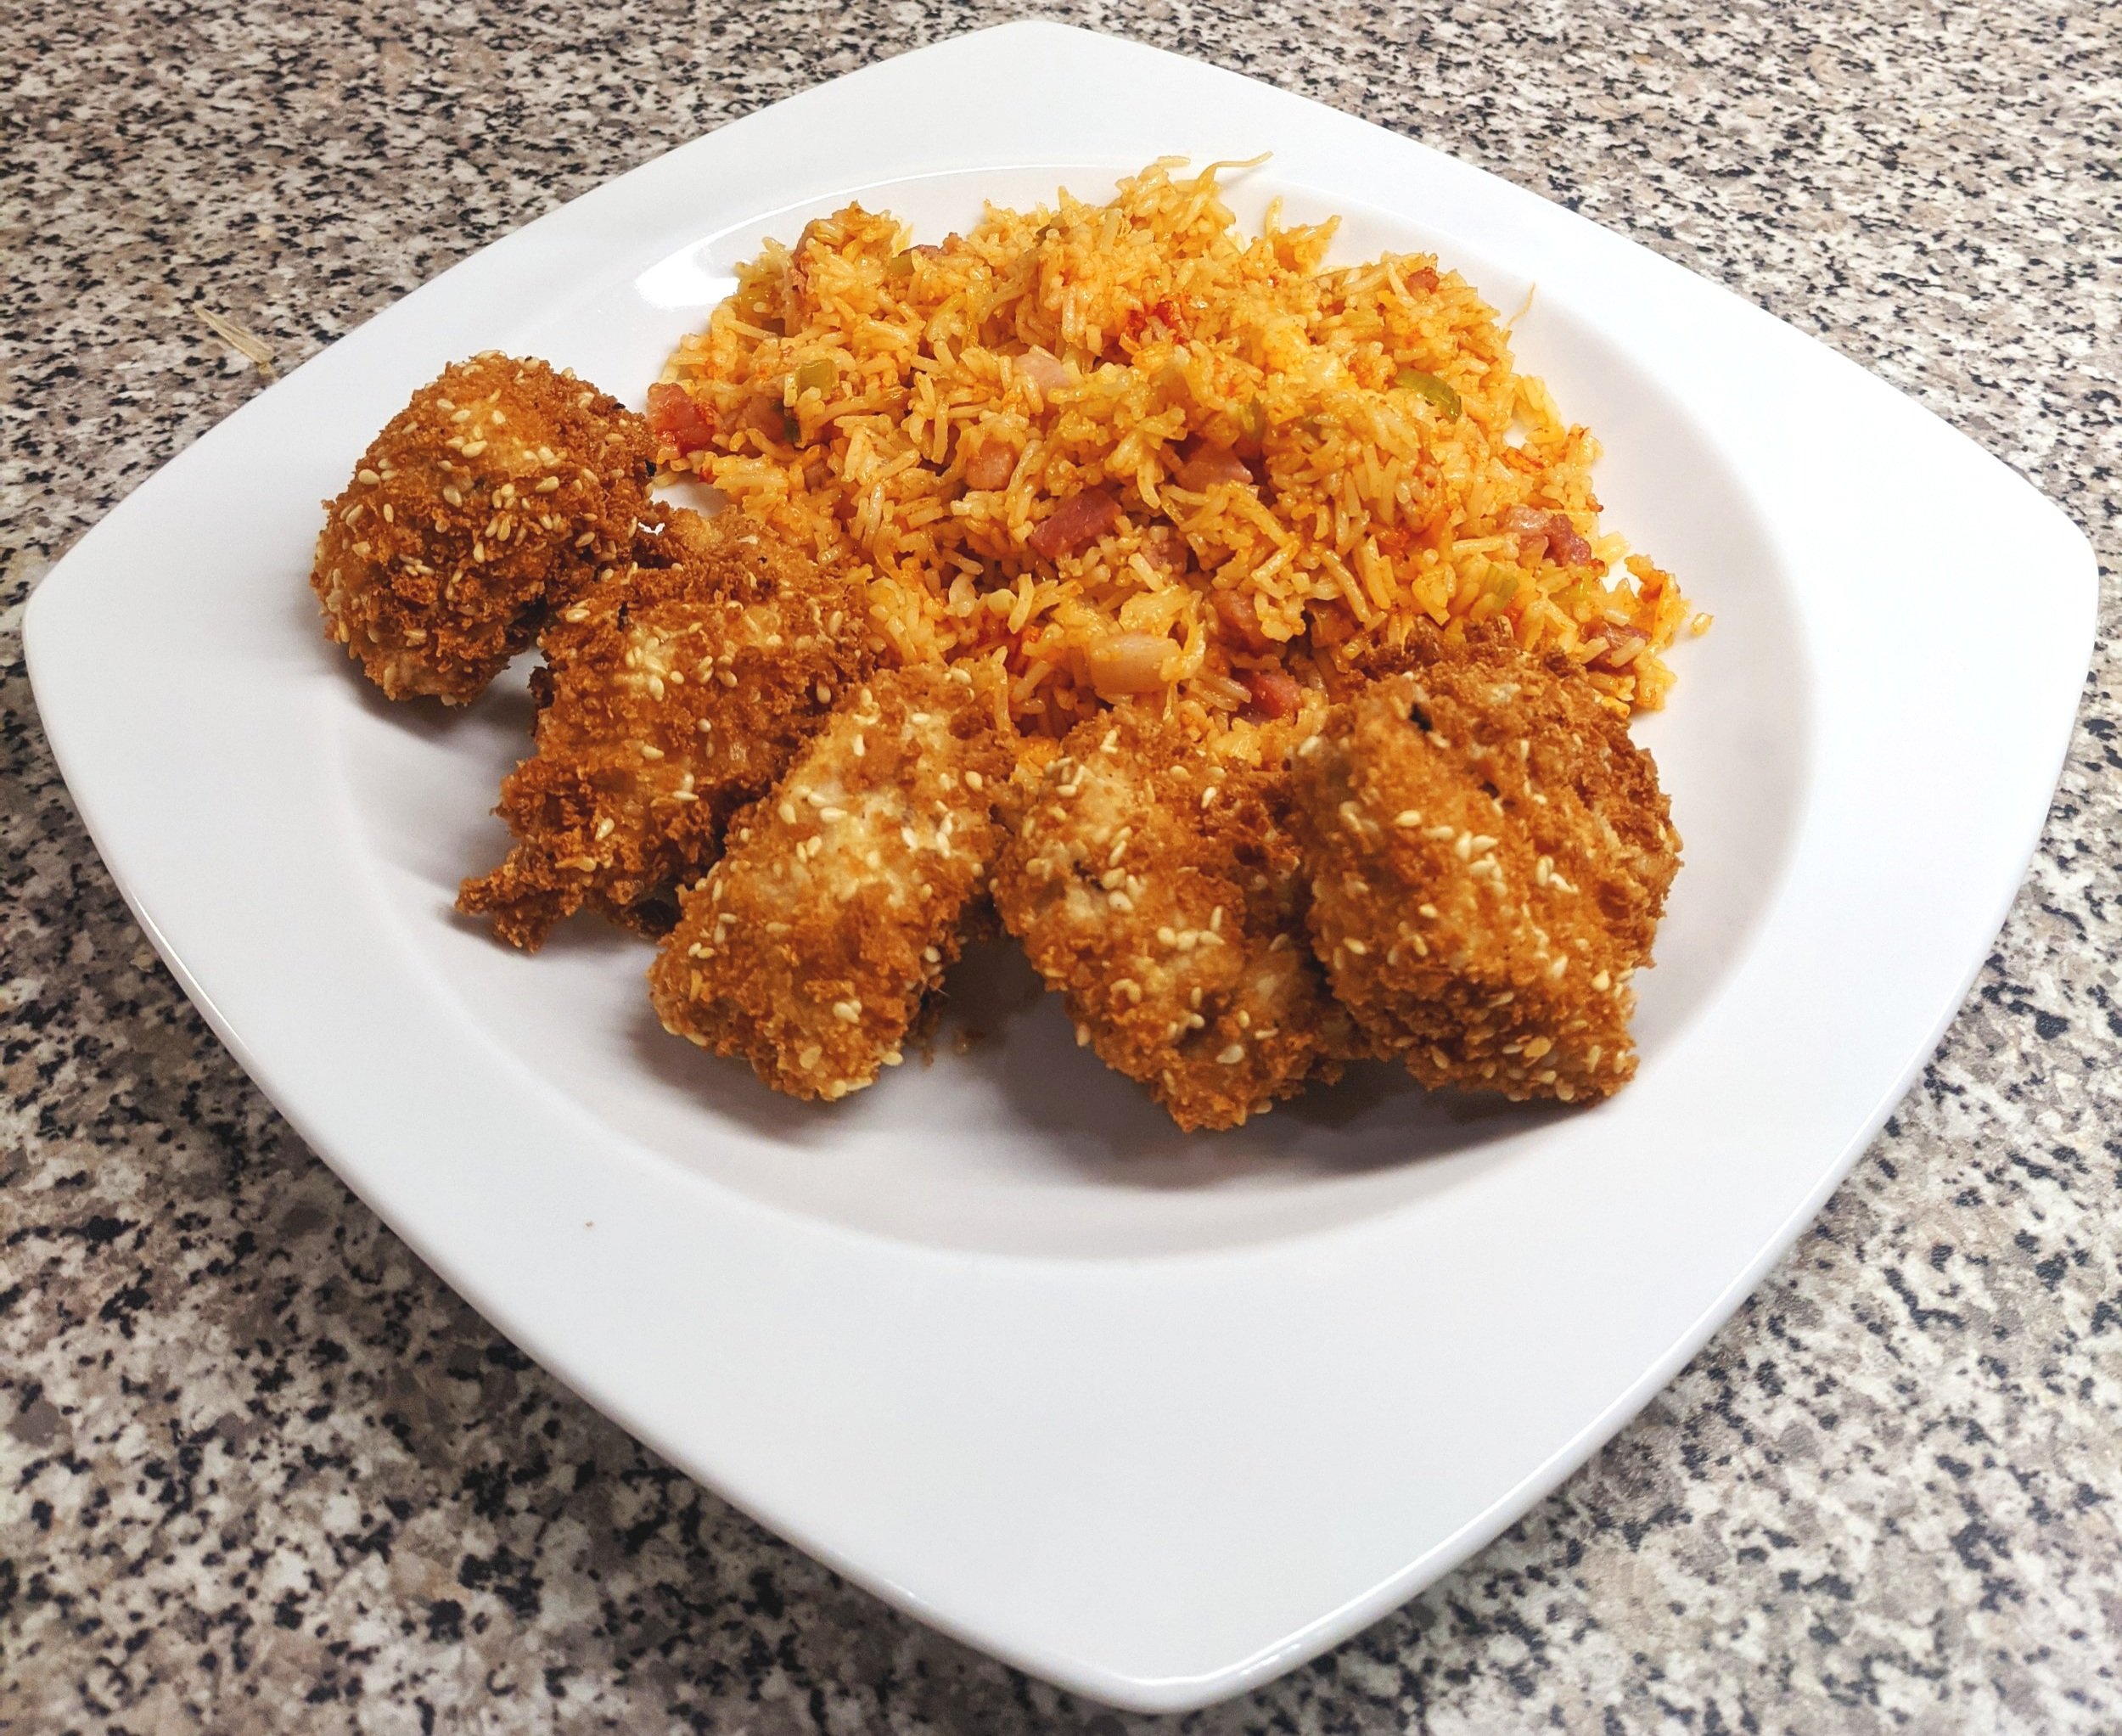
Korean-style fried chicken with kimchi fried rice

My take on a classic Korean dish – it involves a little bit of juggling to get everything ready at the same time, but it’s still a relatively straightforward recipe.
Preparation time: Around 10 minutes
Cooking time: Around 50 minutes
When I’m making the fried rice for myself, I use a store-bought jar of kimchi paste (as I love spicy food), but I’ve included here my recipe for a non-spicy version of “mock kimchi” which my family prefer.
Ingredients (serves 4):
Chicken breasts – 4
Readymade panko breadcrumbs – 150g
Sesame seeds – 2 tbsp.
Cornflour – 4 tbsp.
Eggs – 2, beaten
Pancetta cubes – 130g
Spring onions – a bunch, finely sliced
Ready cooked basmati rice – 2 x 250g microwave packs
Sauerkraut – 4 tbsp.
Kimchi paste – according to taste OR
Tomato puree – 2 tbsp.
Garlic puree – 2 tsp.
Lime juice – 2 tbsp.
Sweet chilli sauce – to serve
Method:
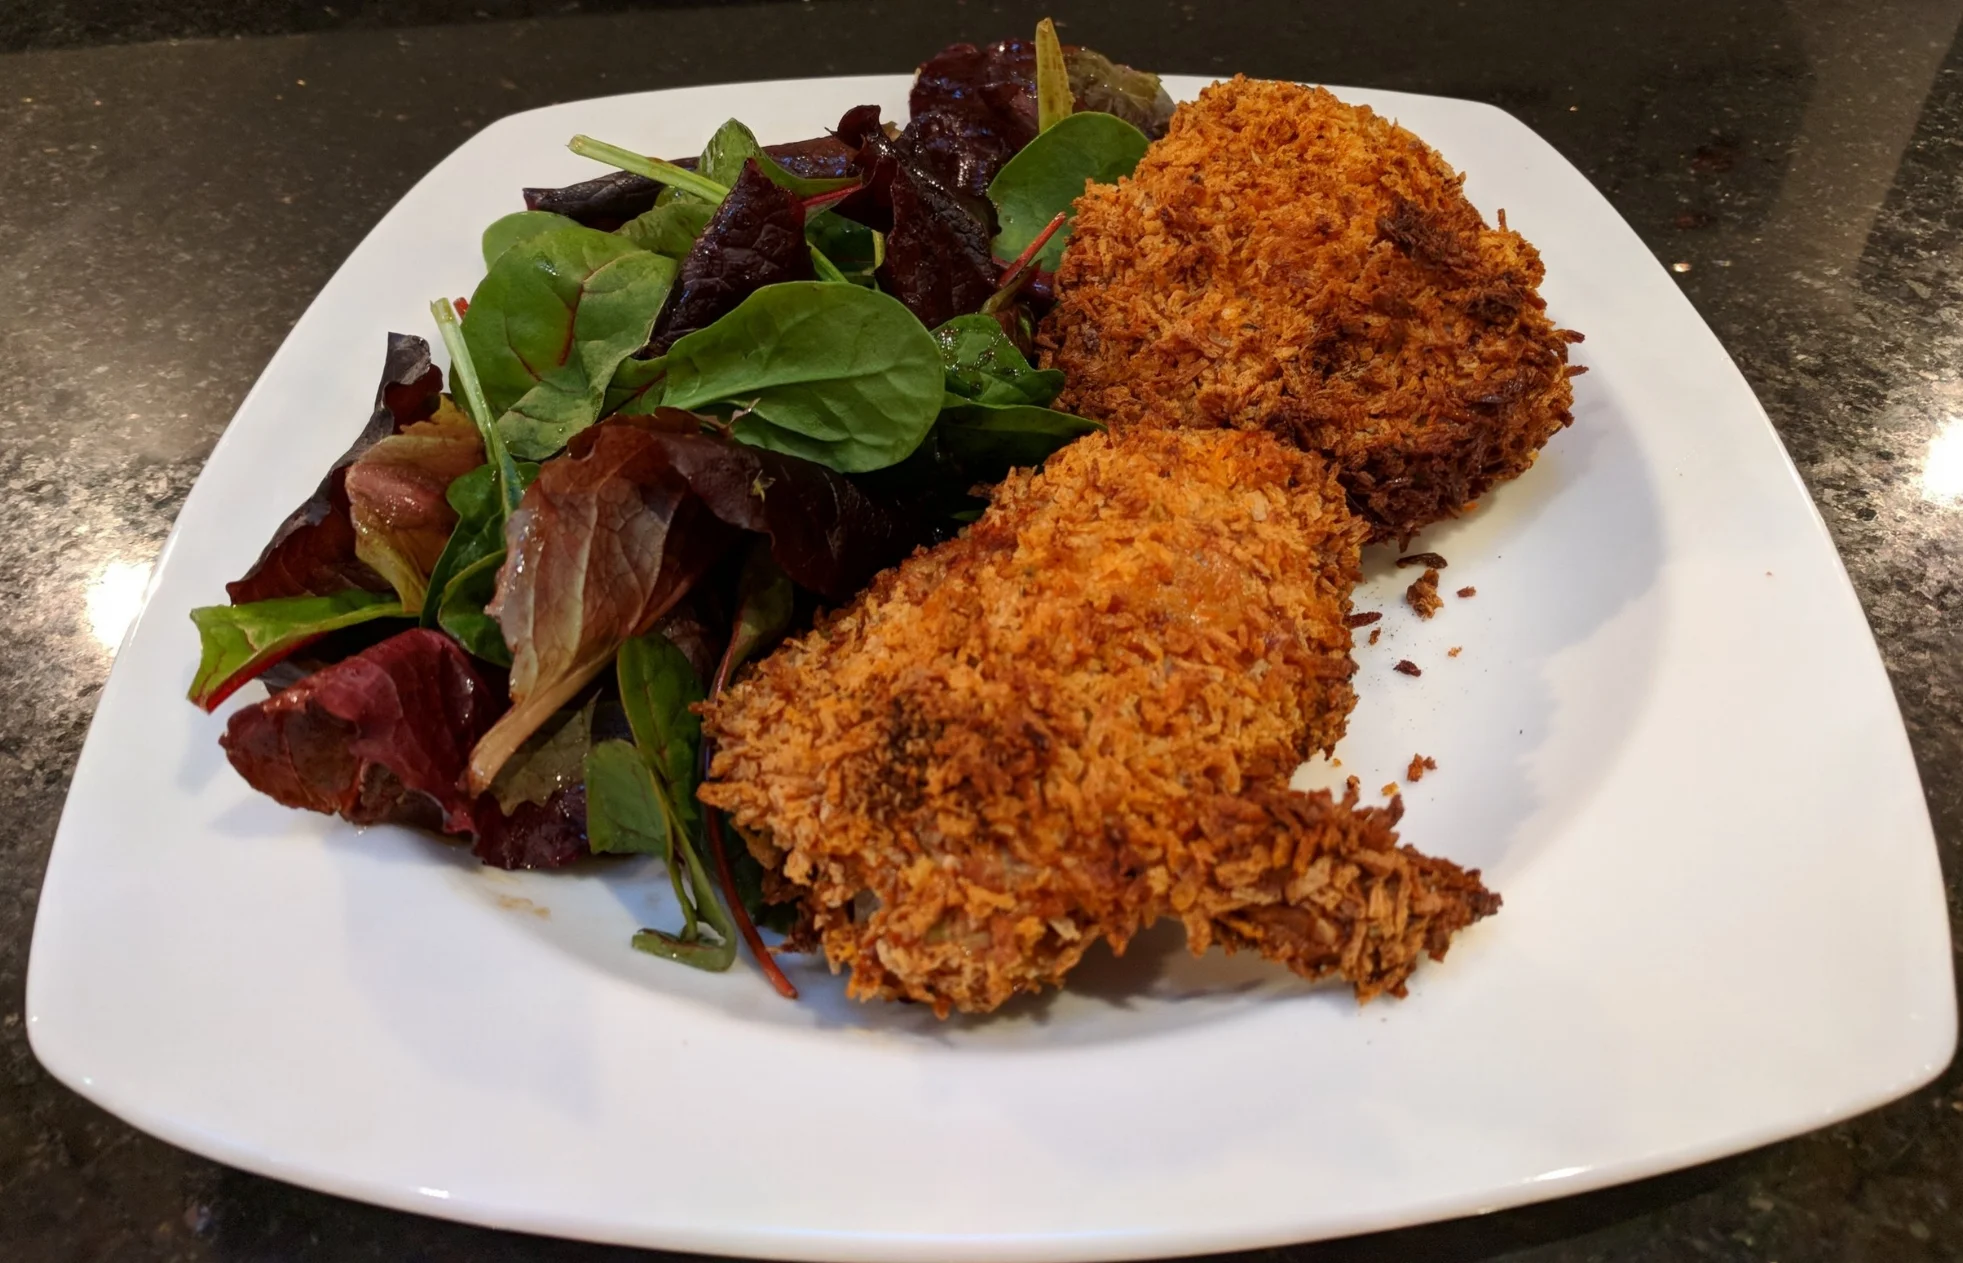
Heat the oven to 180°C. Put the chicken breasts in a loose foil parcel with some seasoning and a little lime juice, then when the oven is at temperature, cook the chicken for about 20-25 minutes. Steaming the chicken in advance means that when you fry it later, you won’t have to burn the outside in order to fully cook the inside.
Once the chicken breasts have steamed, cut them into nugget-sized pieces. Turn the oven to low (just to keep food warm later), and heat your deep fat fryer to maximum. Mix the panko breadcrumbs with the sesame seeds in one bowl, then put the cornflour in a second bowl, and the beaten eggs in a third bowl;
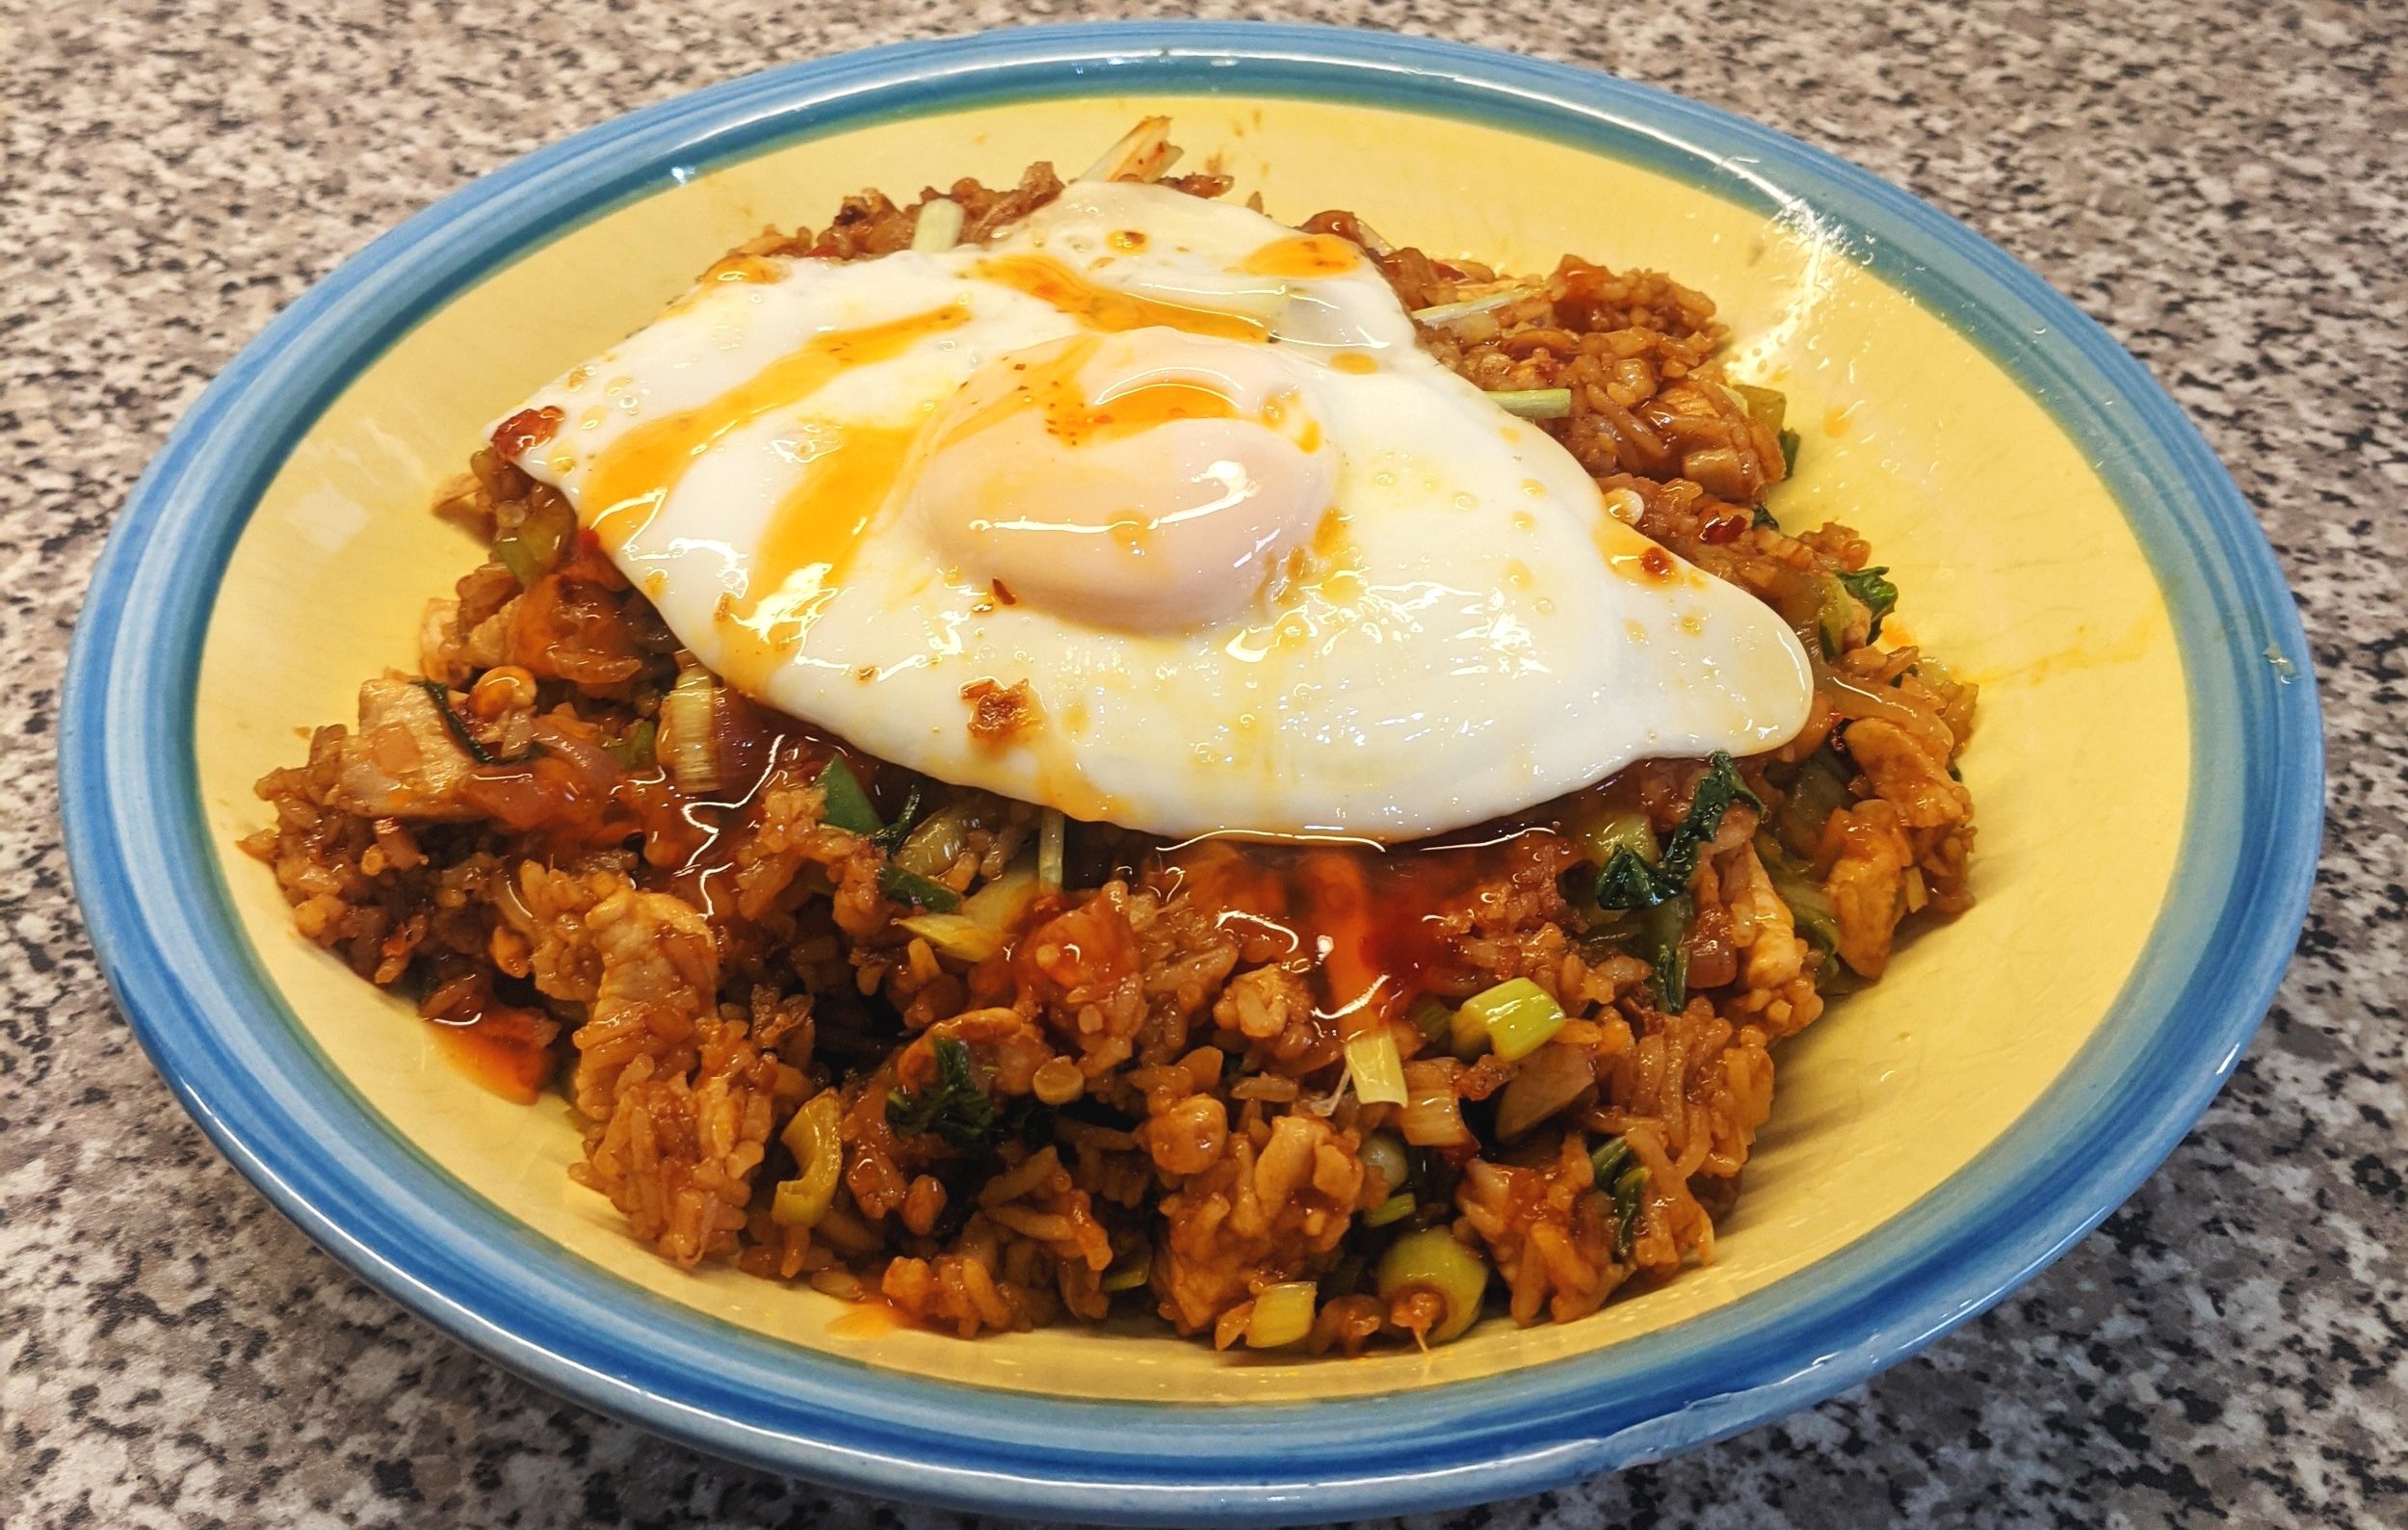
Fry the pancetta in a little sunflower oil in a large wok. Once the pancetta is crispy, add the sliced spring onions and fry until they’re softened;
Add the ready cooked rice to the wok (there’s no need to microwave it first), and break up any lumps, then add the (drained) sauerkraut. Stir well;
If you’re using readymade kimchi paste, add that to the wok now. Alternatively, for a non-spicy version, add the tomato puree, garlic puree and lime juice;
Mix well to ensure all of the rice is well coated, then put on a very low heat to just keep warm while you cook the chicken;
By now, the deep fat fryer should be at temperature. Take each piece of chicken breast, and then first coat it in the cornflour, then coat it in the beaten egg, and then finally coat it in the breadcrumb/sesame seed mixture, before adding it to the deep fat fryer;
You’ll no doubt have to fry the chicken nuggets in batches, and you may have to carefully turn them in the oil to cook them evenly. Because the chicken itself has already been steamed in the oven, you only need to fry the nuggets for long enough to give the breadcrumb coating a nice golden colour. As each batch is cooked, strain them from the fryer and drain on some kitchen paper to soak up any excess oil, then keep warm in the oven while you fry the rest of the nuggets;
Once all of the chicken nuggets have been cooked, divide the chicken and the fried rice between four plates, and serve with additional sweet chilli sauce.